If you love cooking and enjoy preparing your own meals on a daily basis, you must know how difficult it can be to clean up and wash up everything once your food is ready. Things can get so greasy and hard to clean that many people refuse to cook in the first place simply because they do not want to trade a messy kitchen and tons of dishes for a home-cooked meal.
This is hardly the right attitude to have, especially if you consider yourself a foodie. Trying out different foods in restaurants and when traveling is one thing, but experimenting with food yourself and preparing delicious meals is a whole new world. To be a part of it, however, you have to make peace with the fact that knives and cutting boards will get dirty, pans and pots will become greasy, and the whole stove area will require dedicated and frequent maintenance.
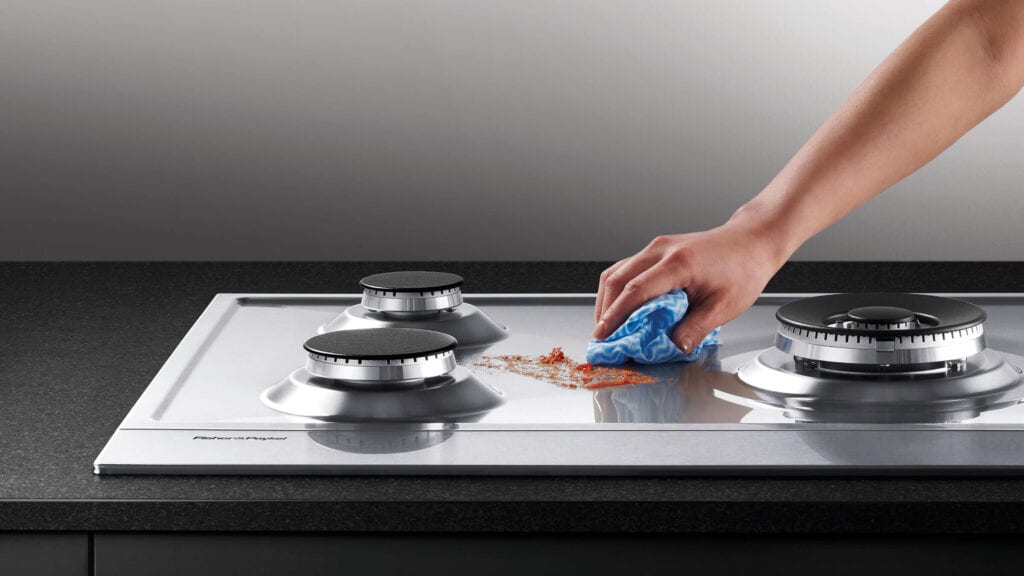
However dire this may seem, it is really not. Anyone can learn how to quickly clean up after themselves no matter what they do. The best thing one can do is to be careful while performing the activity and never let things pile up and stay dirty for too long. With food, it is the easiest to clean soon after the preparation and cooking. The same goes for stains around your gas stovetop. In this article, we will go over how best to clean your own, and how to keep it clean for longer.
1. Remove
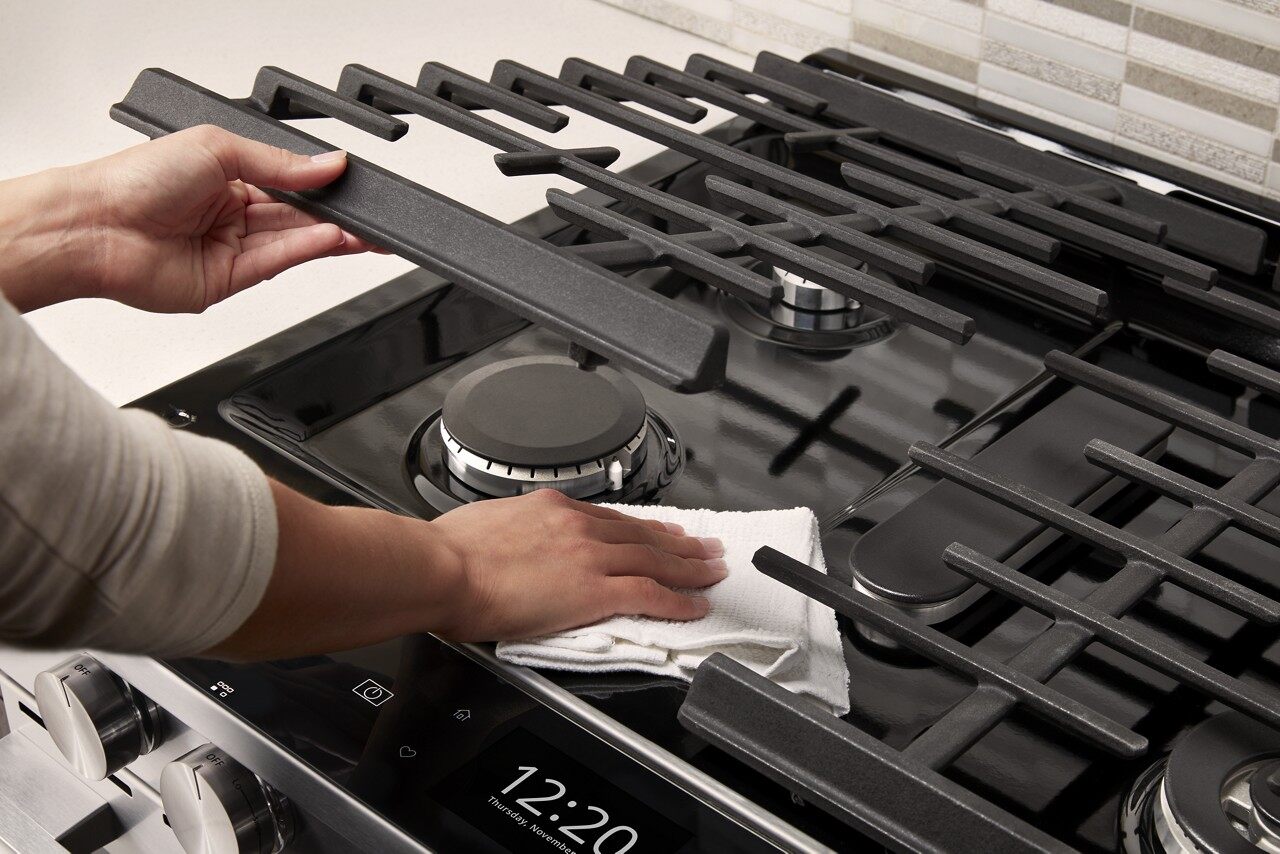
Gas stoves typically consist of burner heads, which have caps on the top. In order to properly clean everything, you must first disassemble the stoves. First, you must disconnect the gas from the stove. Once that is done, you can safely proceed. Slowly pick up the caps from the burner heads and carefully remove them, so as you do not damage them. They are usually made from either metal or ceramic, bot prone to scratching. To prevent damage, use one slow raising move to pick up the cap. After this, do the same with the burner cap. Depending on your model, it can be easier or harder to remove these parts, but never too hard. They are made to be removed for cleaning purposes, so do not be afraid to do it. Seek help from the instruction manual you got with the cooker if you need assistance.
2. Soak
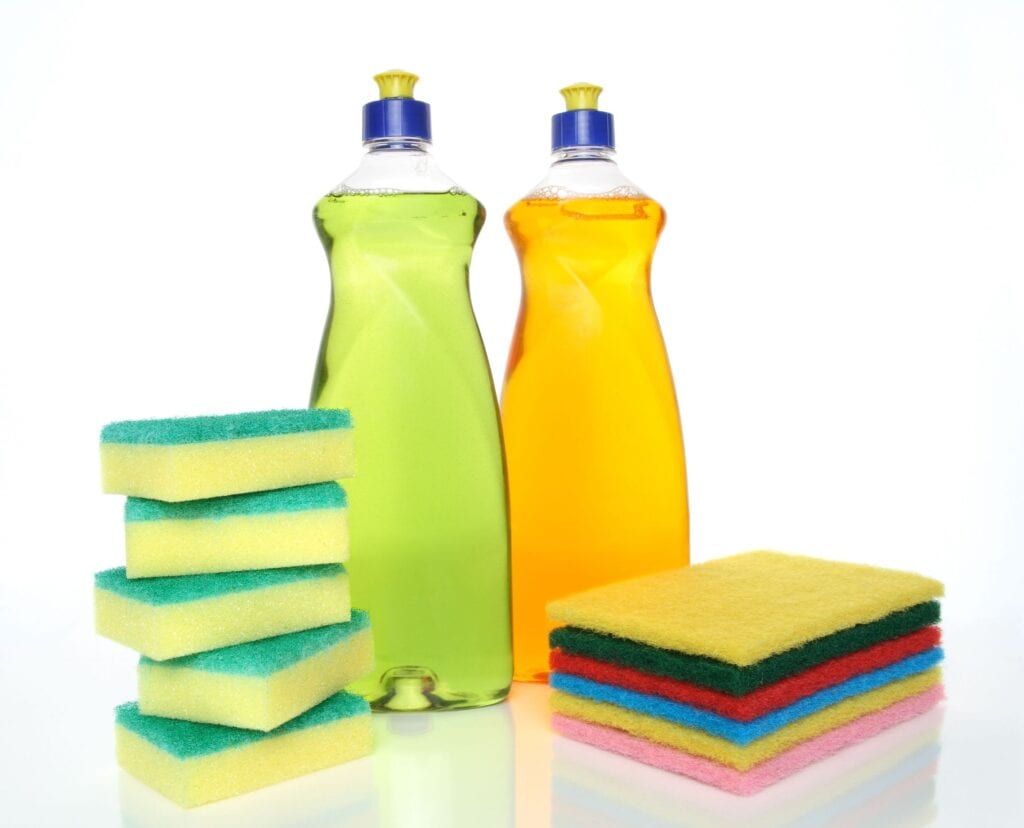
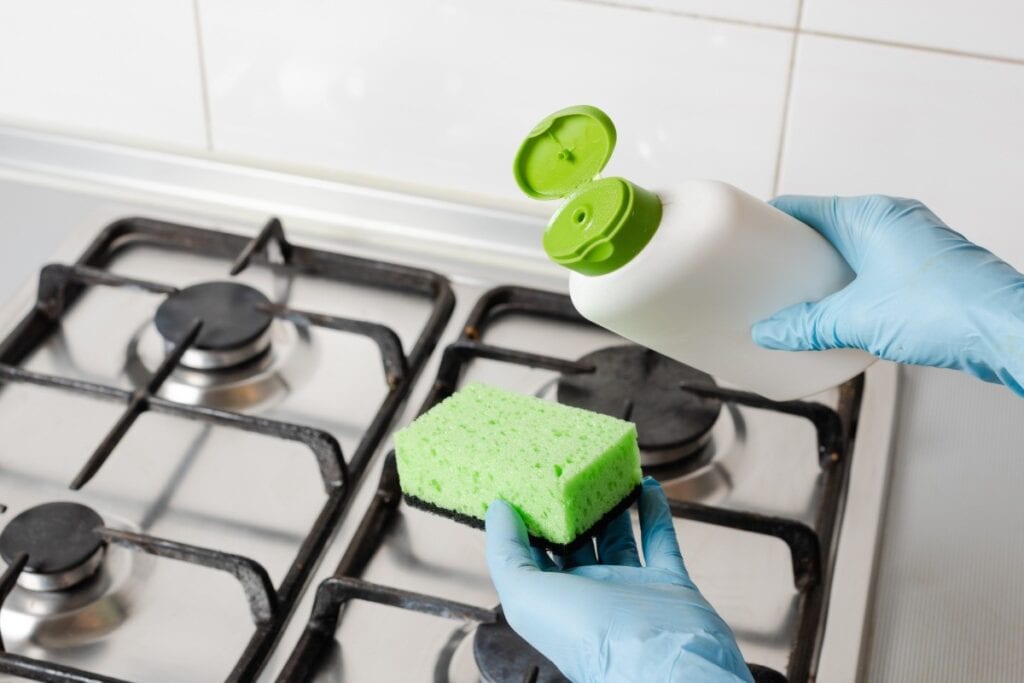
Once you have removed everything, but all of the caps and burners into a deep dish or the kitchen sink. Soak it in a mixture of hot water and dish soap, and leave it to rest for around 30 minutes. This will help you remove the stains and grease later since the mixture will soften everything that should not be there. If you can immediately tell that the parts are extremely dirty, you can also use baking soda in the mixture. While the parts are soaking, you can wipe the area surrounding the stoves. Depending on how dirty it is, you can use kitchen wet wipes, sponges, brushes, and paper towels. Dishwashing detergent and baking soda should be enough to clean everything.
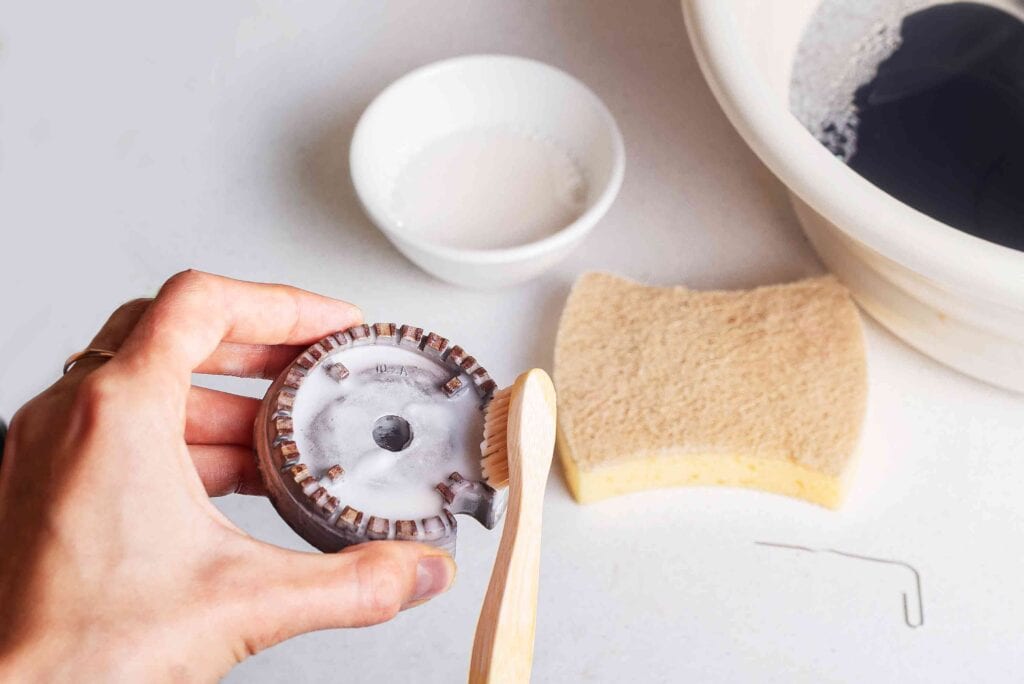
3. Scrub
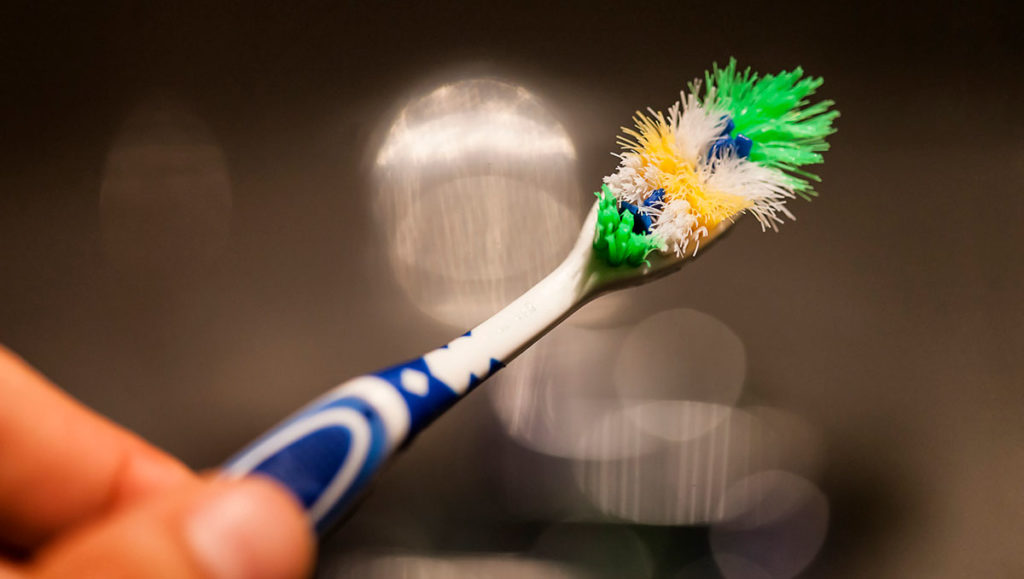
When the parts are done soaking, it is time to scrub them down and remove all the grease and stains from cooking. Here it is best to use those small kitchen brushes or old toothbrushes. Scrub all areas of the burner heads and caps until they are fully clean. If you see built up chunks and debris in the holes and crevices, you can try using straightened paperclips to get in there and remove them. Never use plastic and wooden utensils like toothpicks here, because they easily break and can clog the holes beyond repair.
4. Rinse and Dry
Now that everything is fully scrubbed, rinse it with warm running water until all the soap and the remaining grease is gone. Wipe the parts with a clean cloth and let them air dry for around 30 minutes before reassembling.
5. Return
By now, you should have already cleaned everything else on the stovetop. In case you have other removable elements, do the same with all of them as you did with the caps and the burners. Once they are all soaked, scrubbed, rinsed, and dried, it is time to put them back on the gas stovetop. Slowly return the burner heads onto the designated spaces, and top them with their respective burner caps. You are all set and you can cook your next meal on your crystal clear stoves.
Further Advice
That did not seem hard now, did it? It should not take you more than an hour, and that goes for the dirty stoves out there. You can always do something else with your day while the parts are soaking for the first 30 minutes, and while they are drying out in the air. A good practice is to try cleaning the immediate cooker area and the oven at the same time as the stoves so that everything is clean and fresh at the same time.
Furthermore, try to make yourself slightly obsessed with cleaning your cooking corner. After, or even during your session, have some napkins and towels ready to soak up the grease and oil around the stoves, and always wipe the stains as soon as you see them. If you do not, the heat from the cooking will dry them out and burn them, making them much harder to clean once you get to it.
When the frequency is in question, it all comes down to how many times per day or week you cook. If you cook twice a day, five times per week, you simply have to clean your stoves thoroughly once or twice a week. If you only use your stoves several times per week, once per month is plenty.
Closing Remarks
As you now know, cleaning gas top stoves is a rather easy and straightforward process. If you develop a habit of doing it regularly, you will never feel like performing a large housework chore because you will only be removing a tiny amount of grease and stains. Making it a habit is key, after which it will become second nature to wipe off anything that decides to jump out of your pan while cooking!